![]() We have over 78plant locations across the UK. Find out more
We have over 78plant locations across the UK. Find out more

If you're a keen amateur builder, you'll know that working with concrete can be a bit of a guessing game
How to Lay a Concrete Shed Base
If you're planning to build a shed in your garden or backyard, it's essential to have a sturdy and level base to support it. A concrete shed base is a popular choice due to its durability and longevity. However, laying a concrete shed base can be a challenging task, especially if you're not familiar with the process.
We’ll guide you through the steps of how to lay a concrete shed base, from planning and preparation to pouring and finishing. By following these instructions, you'll have a solid and reliable base for your shed that will last for years to come.
Gather your tools and materials
Before you start laying your shed base concrete, make sure you have everything you need. Here's a list of essential tools and materials for your concrete shed base project:
-
Measuring tape
-
Pegs and string
-
Spade or shovel
-
Spirit level
-
Wooden battens or boards
-
Timber pegs
-
Ballast (sharp sand and gravel mix)
-
Cement
-
Water
-
Wheelbarrow or cement mixer
-
Trowel or float
Now that you've got your materials and tools sorted, it's time to start the groundwork.
Marking out and excavating the area
Before you start laying your concrete shed base, you need to decide where you want your shed to go. Choose a location that's level and free from waterlogging with good access. Once you've chosen the perfect spot, follow these steps.
Measure and mark out the area
Using your measuring tape, pegs and string, mark out the exact size of your shed base. Ensure you include an additional 5cm on each side for the formwork.
Excavate the area
With your spade or shovel, start digging out the marked area. You'll need to dig down about 15cm to create a solid and level foundation for your shed base concrete.
Check for level
Use your spirit level to ensure the excavated area is level. Adjust the ground as necessary.
Install a sub-base
To provide extra stability and drainage, add a 5cm layer of compacted hardcore or crushed stone in the excavated area.
Building the formwork for your concrete shed base
The formwork is the wooden framework that will hold the wet concrete in place as it dries. Follow these simple steps to create your formwork.
Cut your wooden battens or boards to size
Measure and cut your timber to match the dimensions of your shed base, plus the additional 5cm on each side.
Fix the timber pegs
Hammer timber pegs into the ground around the excavated area at 1m intervals.
Attach the formwork
Place the wooden battens or boards against the pegs, securing them with screws or nails.
Pouring
Now it's time to pour the concrete for your shed base.
You can explore our ready mix concrete options for shed bases - Basecrete and Basecrete extra, which will be delivered to your door on the required day.
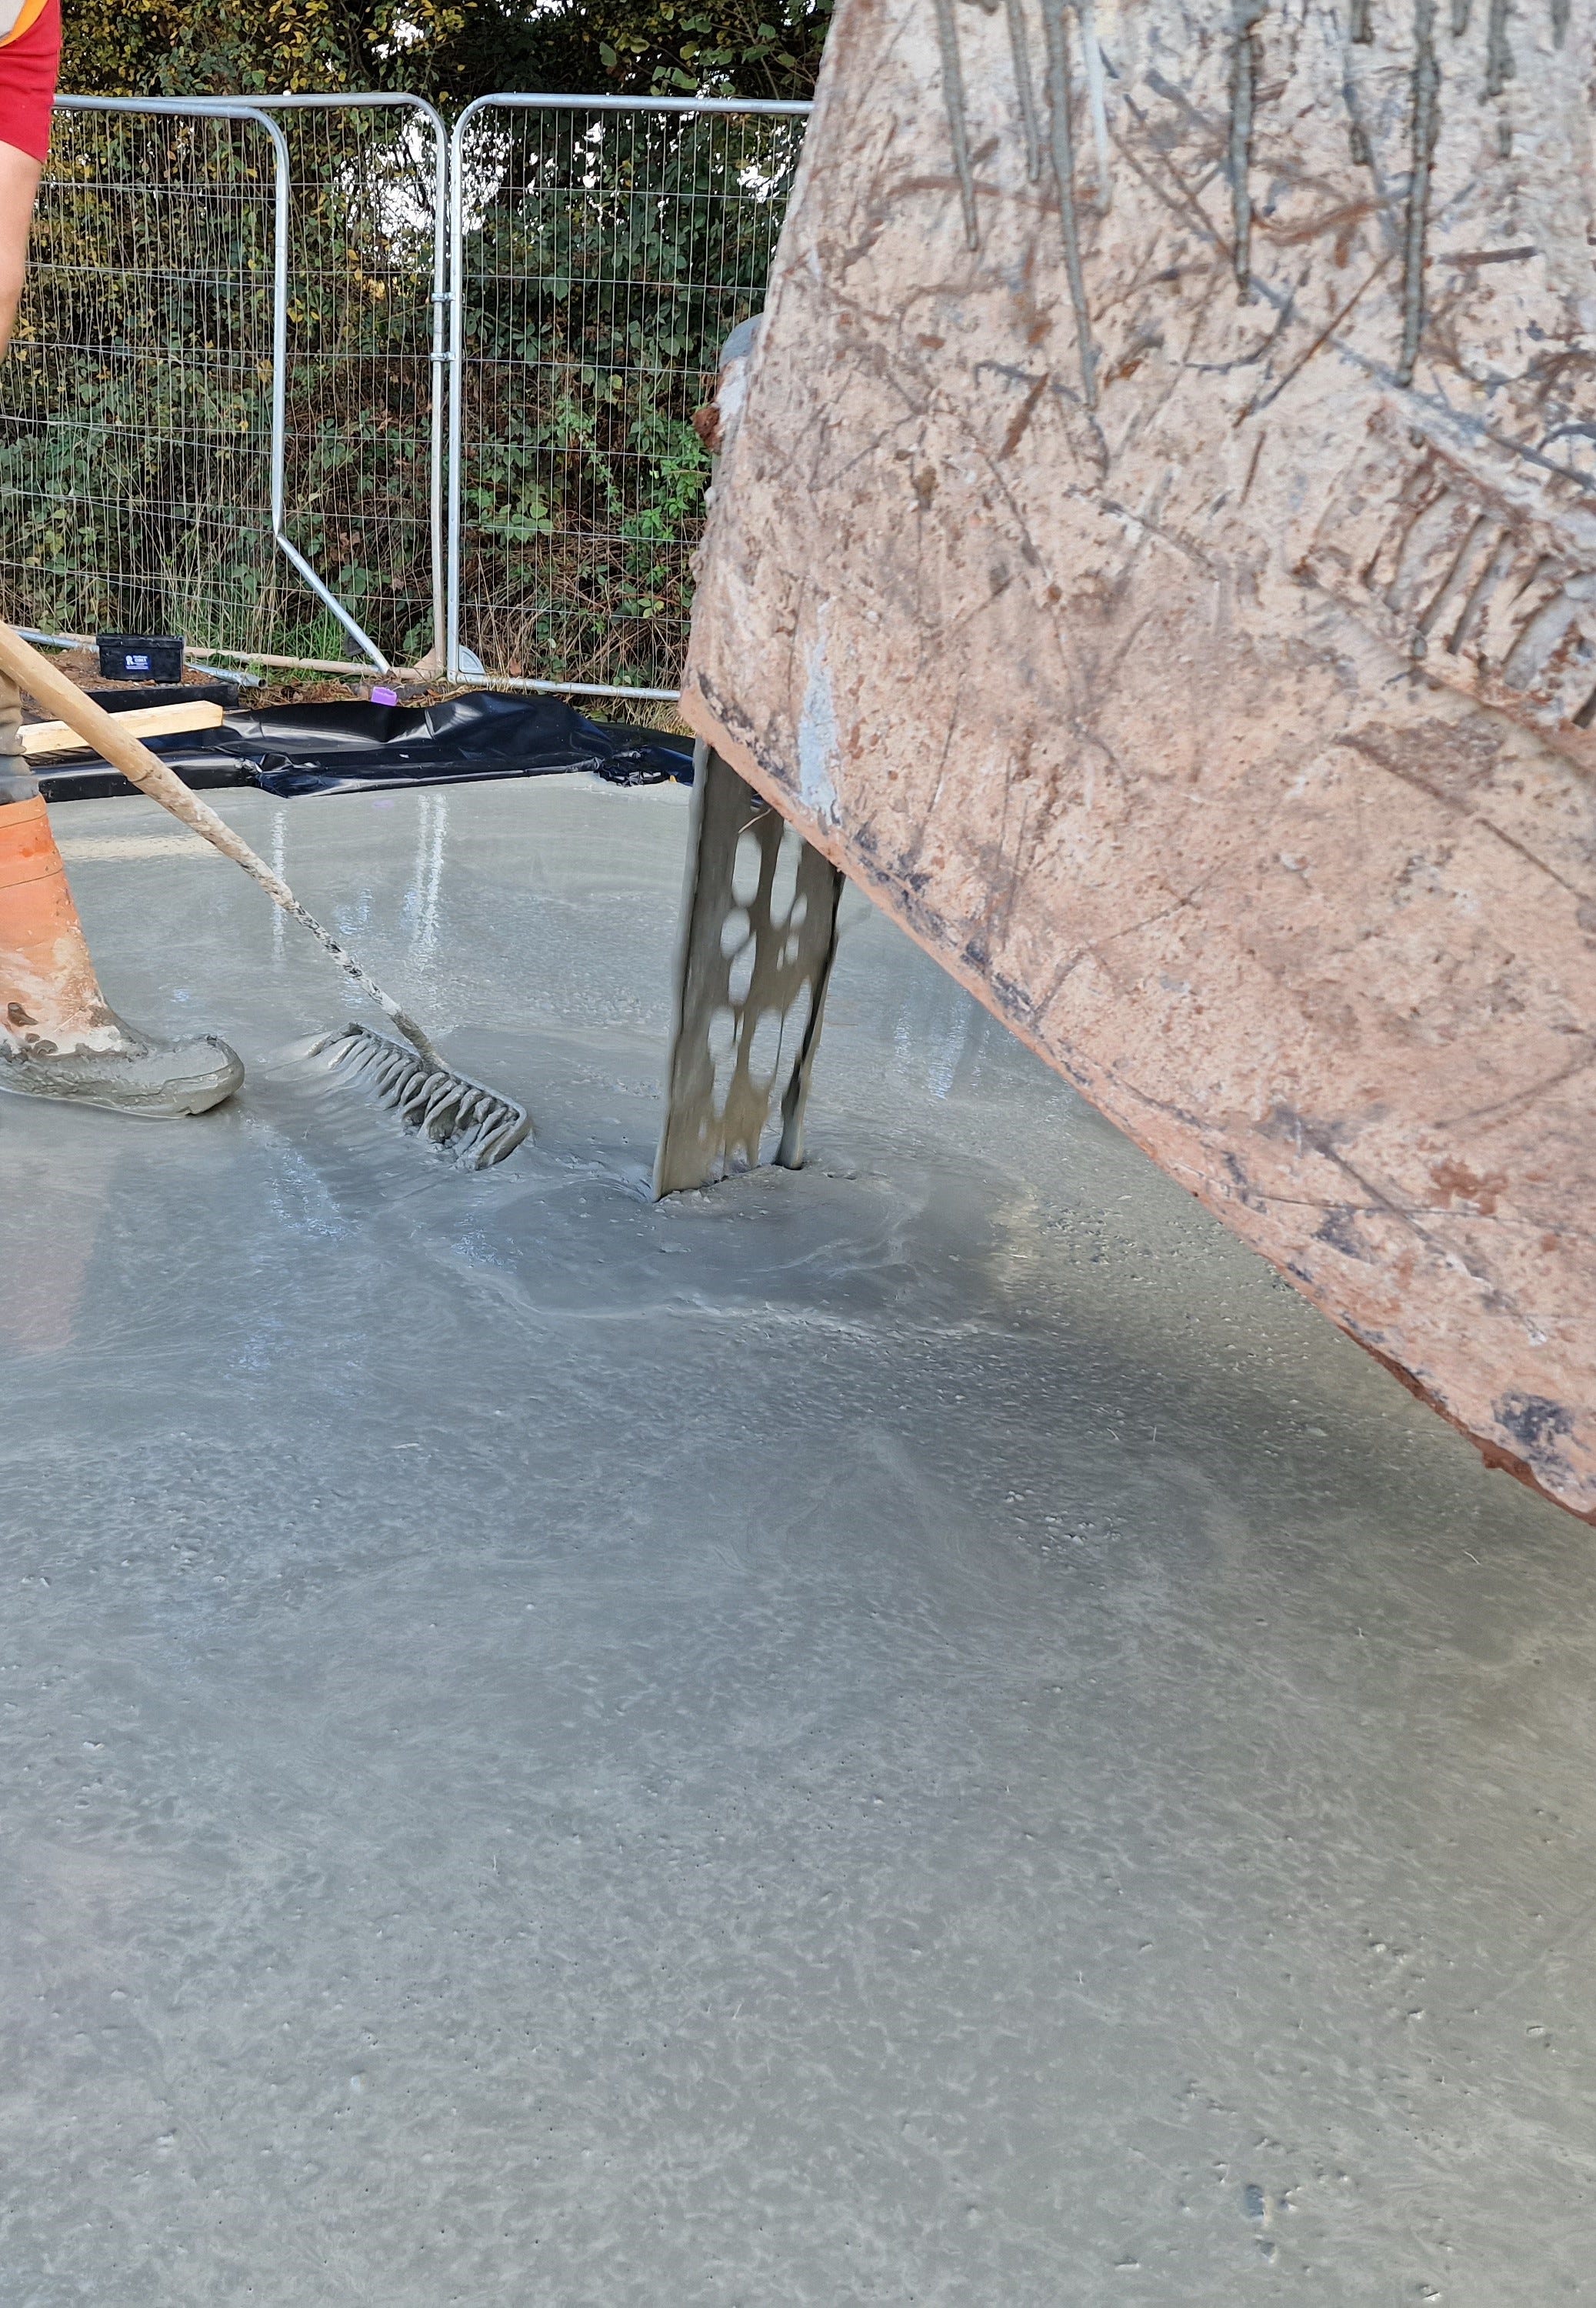
Pour the concrete
Slowly pour the mixed concrete into the formwork, spreading it evenly across the entire area.
Level the concrete
Using a straight-edged piece of timber, level the concrete by dragging it across the top of the formwork.
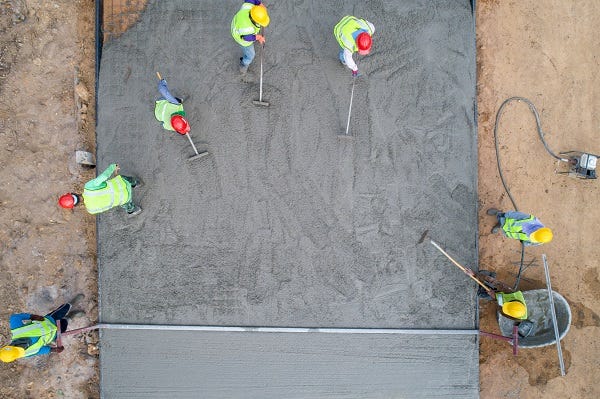
Smooth the surface
With a trowel or float, smooth the surface of the concrete, ensuring it's even and free of any imperfections.
Tidy the edges
Use a spade or trowel to neaten the edges of your shed base, ensuring they're straight and smooth.
Check for level
Using your spirit level, double-check that the surface of your concrete shed base is level. Make any necessary adjustments while the concrete is still workable.
Allow the concrete to set
Leave the concrete to dry and harden for at least 24 hours before removing the formwork. For the best results, let the concrete cure for up to a week before placing any heavy loads on it.
Allow the concrete to cure
Give your concrete shed base ample time to cure fully. This usually takes around 28 days but can vary depending on weather conditions and the specific mix used.
Finishing touches
With your concrete shed base set and ready, it's time for the finishing touches.
Remove the formwork
Carefully remove the wooden battens or boards from around the base.
Install your shed
With your concrete shed base complete, it's time to assemble and install your garden shed according to the manufacturer's instructions.
Conclusion
Congratulations! You now know how to lay a concrete shed base that will provide a solid, level and durable foundation for your garden shed.
With the right preparation, tools, and materials, building a shed base from concrete is a project that's well within the reach of any keen gardener or DIY enthusiast.
Concrete Slump Test

Wet Concrete...too wet!


Our Locations
As the UK’s leading supplier of ready mix concrete, we have over 78 plants all across the UK.
Product Range
We have a range of specialist, high performance concrete products to support your project needs.

Calculator Tool
Use our simple and easy concrete calculator to get the right amount of concrete for your project.
Frequently Asked Questions

We're here to help
Got questions?
Try our frequently asked questions, how to guides and technical support for specialist advice.
Live chat is here!
Need a quick answer? Why not reach out to our expert teams in your area.
Talk to us
We would love to hear from you! Send us an email for further support, feedback or guidance.